How To Get Started In Food Photography
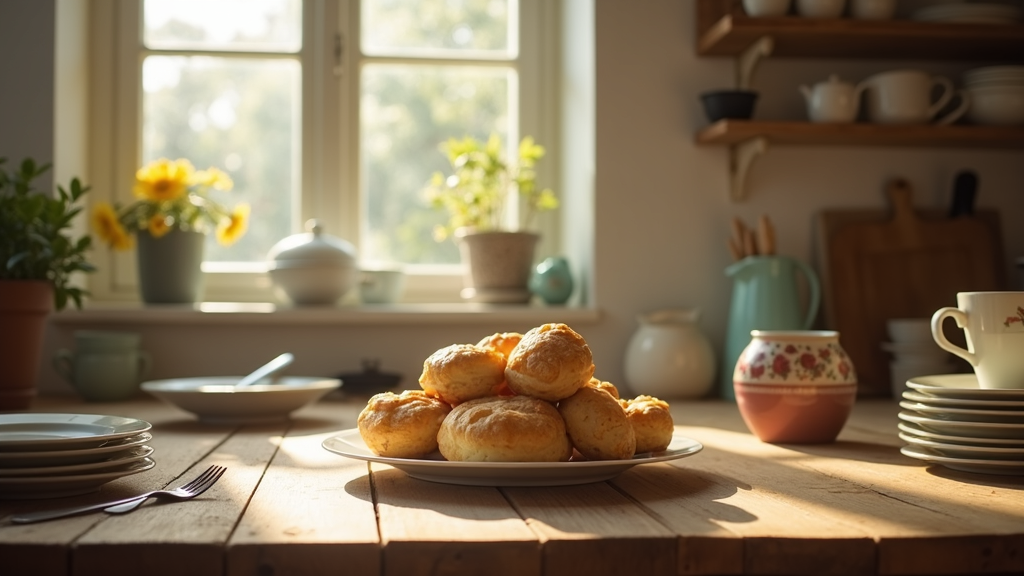
It’s easy to think you need a premium camera and a table crammed full of props to nail mouthwatering food shots. When I first started, my kitchen lightbulb flickered over a chipped wooden table scattered with a pile of mismatched plates. Somehow, I managed to make day-old croissants look like they belonged in a magazine. That’s what got me hooked. I began using what I already had, letting the details tell the story. You really don’t need a truckload of gear to get started. One window and a plate of cookies is plenty to kick things off.

How to Start Food Photography with What You Have
You don’t need to raid the camera store or max out your credit card to start food photography. Most folks I know begin with whatever camera is handy—maybe it’s a handmedown DSLR or their phone’s camera app. What actually matters is how you see the food and how you use the light in your space.
Beginners can easily get stuck comparing themselves to the Instagram feeds loaded with studio lights and $200 plates. Back when I started, I thought I needed a backdrop for every possible mood. The truth is, you really just need a handful of simple things to jumpstart:
- Any camera you already own: Phones work surprisingly well. As long as you can manually focus and tap to set exposure, you’re golden.
- A window with decent daylight: Northfacing windows provide soft, even light. If sunlight feels too direct, tape up a sheer curtain or parchment paper to diffuse it.
- Some everyday dishes: That chipped mug or old wooden board can bring more personality than any marble slab from an online shop.
The magic is in working with what you have and noticing the details—the curl of steam, the crumbs scattered on a tabletop, or the shine on a chocolate cake. Practice turning the ordinary into something worth staring at.
Light: The Secret Ingredient
Natural light is every beginner’s best friend. Harsh overhead lights or fluorescent bulbs create strange shadows and uneven colors. Near a window, shadows become gentle and food looks three dimensional. If direct sun brings harsh shadows, just soften it. For months, I taped up parchment paper before I splurged on a $20 diffuser.
Try these quick lighting tweaks to get your photos looking nextlevel cool:
- Sidelighting: Place your setup by a window for soft highlights and shadows. This works well on just about all dishes—soups, bread, fruit, you name it.
- Backlighting: Put the food between you and the window. You’ll make steam, drinks, and frosty glasses look dramatic and really appetizing.
- Reflect with a white board: No need to buy a reflector. Use a white cardboard or a foam board to bounce light back on your food and fill in the shadows.
Mornings or late afternoons are ideal for that soft, golden light. Overhead fixtures often make food look dull and flat, so I avoid them. I keep my workspace clear, unless a little clutter adds to the story—a crumpled napkin or a fork still dusted with cake crumbs can really give a photo personality.
Food Photography Composition Basics
Great food photos feel intentional and inviting. I remember copying restaurant menus with heavy filters before I realized it was the composition drawing my eyes in. Focus on these basics:
- Rule of thirds: Imagine a tictactoe grid over your frame and place important details where the lines meet.
- Negative space: Simple backgrounds help the food stand out. Don’t be scared to leave empty areas—they help guide attention to your subject.
- Angles matter: Shoot overhead for flatlays (perfect for symmetrical baked goods or colorful salads), 45 degrees for most plates, or straighton to show off those layers in a cake or a stacked sandwich.
- Details and cropping: Get close to highlight textures—flaky pastry, glossy icing, bubbling cheese. Cropping out a bit of the food gives energy and makes photos feel more dynamic.
Take a look at restaurant menus, cookbooks, or coffee shop signs for realworld examples. Notice how they style the food, use props, and let the light shape the photo. Try to spot what makes you stop and stare.
Add Story and Texture to Your Food Photos
Food tells a story. Where it comes from, who made it, and who’s about to dig in all matter. If you want more than a blah shot of a lone muffin on a plate, add a little context. Scatter some flour next to fresh bread or let a fork lean naturally on the plate. Sometimes, I’ll smear a bit of jam on the plate for a playful “livedin” feel.
- Props with personality: Go for linens, utensils, or rustic boards that match the dish’s vibe. Old baking tins, rumpled napkins, or grandma’s plate can spark nostalgia and charm, and let the food take center stage.
- Process shots: Show the mess. Flour on hands, sauce dripping, or the action of pouring. These images invite folks in, making the food feel real and gettable.
- Layers and depth: Put objects at different distances—foreground, middle, background—to make a richer, more immersive photo.
In real life, food isn’t usually perfect. Highlight imperfections; cracks on the pie, a drip of sauce, a bite taken from a cookie. These touches spark warmth and authenticity, and never go out of style.
Three Common Food Photography Mistakes (And How to Dodge Them)
Scroll through a batch of old photos and you’ll spot a fair share of food blunders—graying chicken, greasy smears, props that totally take over. I’m guilty of editing my brownies until they looked radioactive. Here are some mistakes to avoid, plus simple ways to do better:
- Bad white balance: If food turns green or orange in your shots, try tweaking the white balance right away. Most phone cameras make it easy. Aim for natural, freshlooking colors. Nobody wants blue eggs unless you’re shooting an alien cafe.
- Harsh or uneven lighting: Skip the flash and harsh kitchen lights. Go for gentle, natural light. If you see a strong shadow, grab a white card and nudge some light back in to tone it down.
- Overdone props: Don’t cram everything in. One or two props that fit the mood are enough. When in doubt, stick with less; there will be more chances to experiment with wild ideas.
Editing is the polish, not a quick fix. Bump brightness and contrast gently, but don’t crank the saturation until herbs start glowing. Snapseed and Lightroom Mobile are free and powerful, but even a basic editor works well to make a photo pop.
Gear Up: What’s Worth the Investment (and What Isn’t)
Getting new gear is fun, but it won’t make photos look better if you skip practicing the basics. I used a pile of cookbooks and duct tape as a tripod for months. When you feel ready, here’s what’s actually helpful:
- Tripod: Even the cheap ones keep your shots steady, especially in low light. Grab a phone mount if you shoot on your smartphone.
- Reflectors or diffusers: You can improvise with household stuff—bed sheets, cardboard, parchment—but actual photography reflectors aren’t a huge splurge and can make life easier.
- Lenses: If you upgrade to a camera, think about picking up a 50mm or macro lens for closeups when you’re feeling adventurous.
Skip the pricey backdrops, lighting kits, or piles of props until you know your style and needs. Most of the time, a patient approach and the guts to inch your chair closer to the light source matters more than any gear upgrade.
Food Photography FAQs
If you’re new to food photography, you might be spinning with a dozen questions. Hopefully, these common questions and answers help clear things up and get you snapping with confidence:
Question: Can I really get great food photos with just a phone?
Answer: Absolutely! Phone cameras today give you sharp images and good control over exposure. Just focus on using good light and thoughtful composition.
Question: What foods are easiest to shoot for beginners?
Answer: Choose foods that don’t melt or wilt fast—breads, cookies, fruit, or salads. Soup and ice cream are tougher because they change on you quickly under lights.
Question: Do I need to edit my food photos?
Answer: You don’t have to, but even basic edits can give your photos a boost. Adjust brightness, contrast, and details for a clean, natural look.
Question: How often should I practice?
Answer: Once a week is a great start! Shoot a meal each week and play around with a fresh angle or try a new prop for steady growth.
Ready to Get Started?
Food photography isn’t just about the perfect shot; it’s a habit built on noticing light, playing with composition, and telling a story. Start right where you are—your kitchen, some daylight, and whatever meal you’re about to eat. For more rustic, storied photo tips and inspiration, take a look around the blog or hop onto the Mattie K Studios weekly email list. You keep bringing the curiosity; I’ll share what clicks, what misses, and every tasty bit in between. Happy shooting!
